Dealing with the daily grind is hard enough without the added frustration of a misbehaving garage door opener. If you’ve found yourself wrestling with the complexities of a Liftmaster garage door opener, you’re not alone. The struggle is real, and it’s time to address it head-on.
In this guide, we’ll demystify the process of programming your Liftmaster garage door opener. No more grappling with incomprehensible manuals or getting stuck in a loop of confusion. We’ve got your back.
By the end of this walkthrough, you’ll be armed with the knowledge to conquer the programming challenges and make your garage door bow to your command.
So, buckle up, gather your tools, and let’s embark on a journey to program your Liftmaster garage door opener without the hassle. It’s time to regain control and bid farewell to the days of garage door woes. Let’s get started.
Understanding Your Liftmaster Garage Door Opener
Before we jump into how to program a Liftmaster remote, let’s get familiar with your Liftmaster garage door opener.
- Liftmaster Model Varieties: Take a look at the different Liftmaster garage door opener models. Identify the specific one you have to understand its unique characteristics.
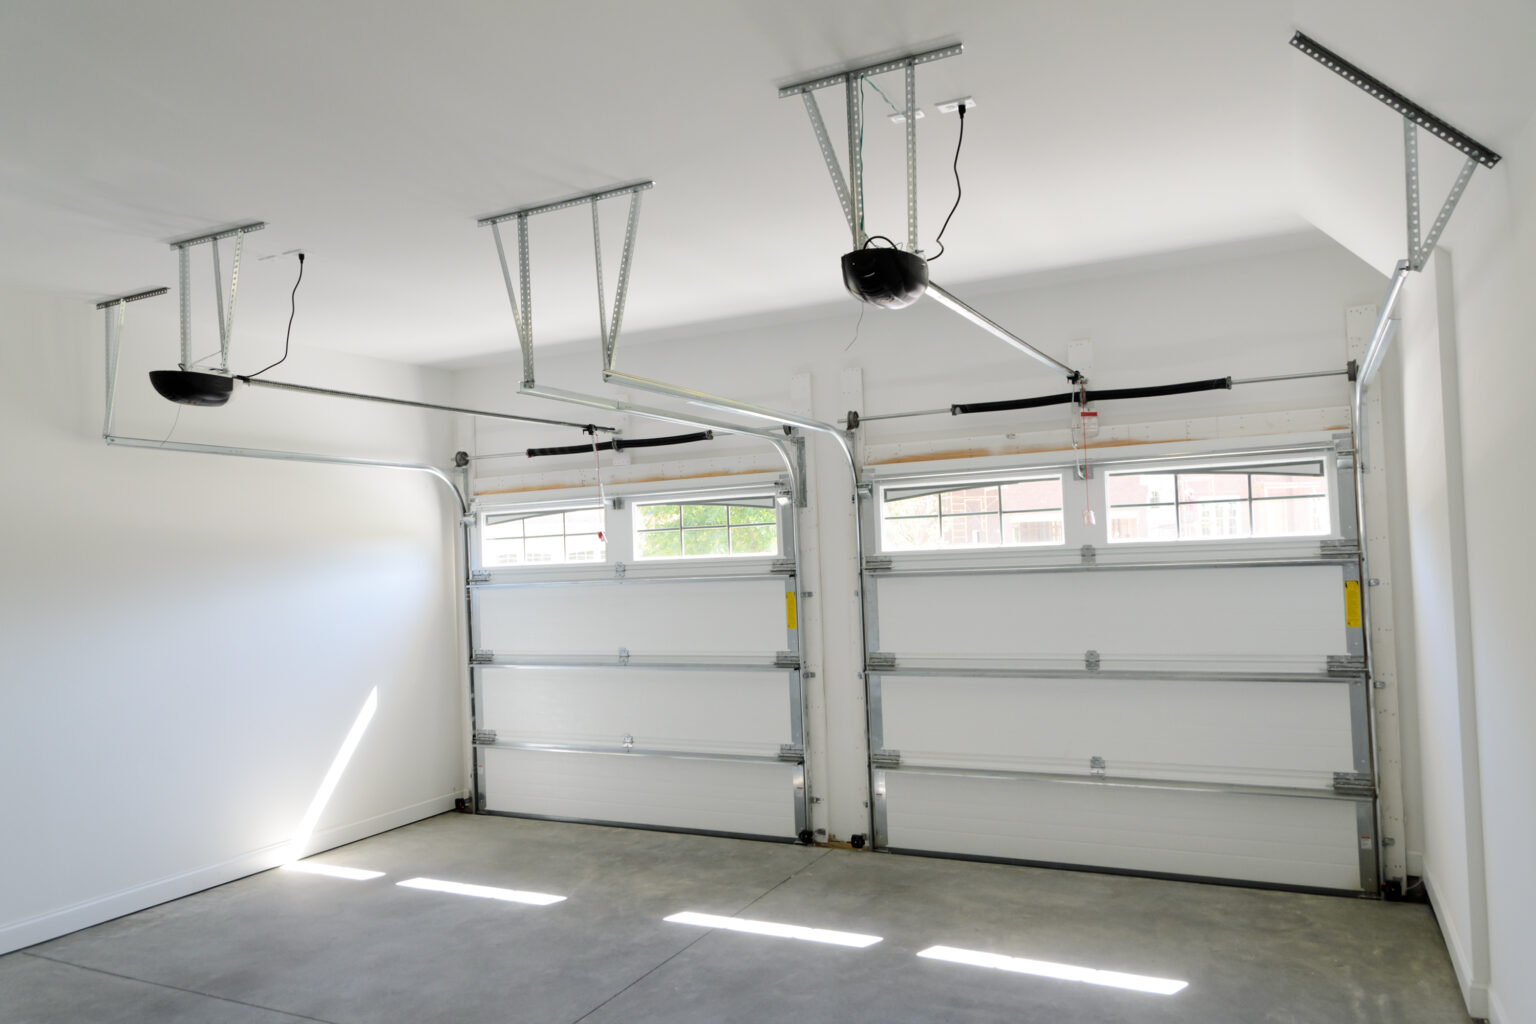
- Key Components: Break down the essentials – the remote, keypad, and main opener unit. Know what each part does, so you’re not left scratching your head during programming.
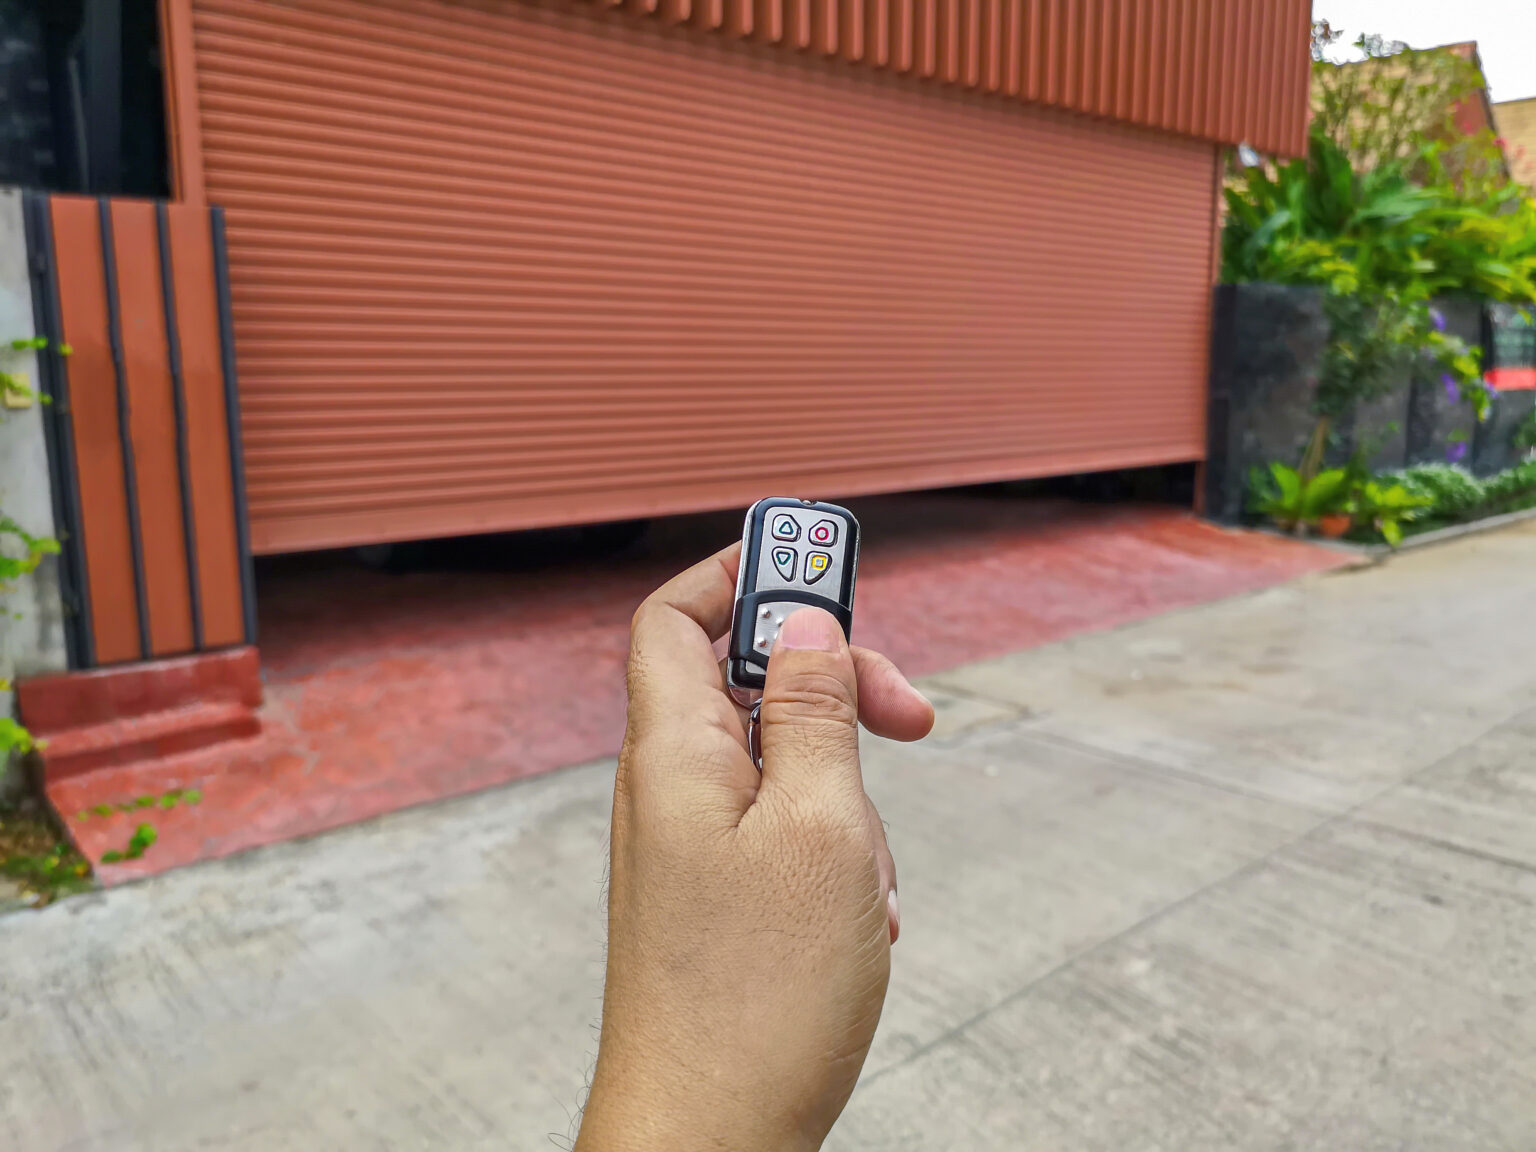
- Remote Control Functionality: Get to know how your remote works with the opener. It’s not rocket science, but understanding its functions will make programming a breeze.
- Keypad Basics: If you have a keypad, learn how it integrates with the opener. It’s a handy feature for easy access, and understanding its basics is key to efficient programming.
- Opener Unit Overview: Look into the opener unit – the brain of the operation. Understand its functions and how it responds to signals from your remote or keypad.
Preparing for Programming
Now that we’ve laid the groundwork by understanding your Liftmaster garage door opener, it’s time to gear up for the programming process. Here’s your checklist for a hassle-free programming experience:
- Gathering Necessary Tools: Collect the tools you’ll need for programming – typically, it’s your remote, keypad, and ladder. Having everything at arm’s reach eliminates frustrating interruptions mid-process. Also, prepare the Liftmaster garage door opener programming instructions.
- Checking Batteries: Take a moment to inspect the batteries in your remote and keypad. Fresh batteries ensure strong signals, preventing potential glitches during programming.
- Locating the Program Button: Find the program button on your opener unit. It’s the linchpin for programming success. Knowing its location saves you from fumbling around during the process.
- Clearing Existing Codes: If there are lingering old codes, clear them out. Think of it as decluttering your programming canvas – a clean slate ensures a crisp start to the process.
Step-by-Step Guide to Programming
Now that we’ve set the stage and ensured everything is in order, it’s time to roll up our sleeves and dive into the intricate yet manageable world of programming your Liftmaster garage door opener. Buckle up as we take you through each crucial step:
1. Clearing Existing Codes
The first step is to reset the Liftmaster garage door opener. Clear out any existing codes, providing a clean slate for the new configurations. It’s akin to decluttering your digital space before organizing it anew. If you need help with this, refer to the Liftmaster garage door opener manual.
2. Accessing the Program Button
Locate the program button on your opener unit. This button is your gateway to the programming realm. Think of it as finding the key to a secret door, unlocking a world of possibilities.
3. Initiating Programming Mode
Follow the specific instructions for your Liftmaster model to activate the programming mode. It’s like putting your opener in learning mode, ready to absorb and adapt to new commands.
4. Entering New Codes
Whether using the remote or keypad, input the new codes as per the provided guidelines. Imagine it as setting a password, ensuring your garage door recognizes and responds only to your unique commands.
5. Testing the Codes
Once programmed, it’s time for a practical check. Test your new codes to ensure your garage door responds promptly. It’s the moment of truth, confirming that your programming efforts have paid off.
6. Opening and Closing Tests
Conduct thorough tests for both opening and closing functions. Picture this step as the grand finale – your garage door gracefully responding to your commands, showcasing a perfectly programmed performance.
7. Troubleshooting Tips
In case something doesn’t go as planned during testing, don’t worry. We’ve got you covered with troubleshooting tips. It’s like having a quick guide to address any unexpected hiccups in the process.
Testing the Programmed Codes
Now that you’ve successfully programmed your Liftmaster garage door opener, it’s time to ensure the new codes perfectly harmonize with your system. Consider this phase as a practical test for a smooth and secure connection between you and your garage door.
Let’s dive into the testing process:
- Opening and Closing Tests: Begin with testing the programmed codes for both opening and closing functions. It’s like taking your newly tuned instrument for a spin – checking if it responds to your commands precisely and promptly.
- Smooth Functionality Check: Pay attention to the smoothness of the operation. Your garage door should move without jerks or delays. Think of it as a dance routine – every step should be executed with precision for a flawless performance.
- Listening for Unusual Noises: As you conduct the tests, listen for any unusual sounds. A well-programmed garage door operates silently, like a perfectly tuned engine. Any unexpected noise might signal an issue that needs attention.
- Consistency Matters: Perform the tests multiple times to ensure consistency. It’s similar to rehearsing a script – the more times you run through it successfully, the more confident you can be in the reliability of your programmed codes.
- Closing and Securing: After confirming the opening functions, test the closing feature. Ensure that your garage door closes securely, providing peace of mind regarding the safety and security of your property.
Troubleshooting Tips
If you encounter any unexpected behavior during testing, don’t panic. We’ve prepared some troubleshooting tips to guide you through potential issues. Consider this as having a handy toolkit to address any minor glitches and keep your garage door performing at its best.
Remember, if you ever find yourself facing more complex problems or issues beyond the scope of these tips, don’t hesitate to seek professional help.
Hiring professionals for garage door opener repair ensures that your system is in the hands of experts who can quickly and efficiently resolve any issues, maintaining the optimal performance of your Liftmaster garage door opener.
By testing the programmed codes thoroughly, you’re not just verifying functionality. You’re ensuring a smooth, reliable connection between you and your Liftmaster garage door opener.
Additional Tips and Maintenance: Keeping Your Garage Door Opener in Peak Condition
Now, let’s delve into some additional tips and maintenance practices to ensure its continuous optimal performance. Consider this routine as a set of extra steps to keep it operating smoothly.
- Changing Codes Regularly: Just like changing passwords for online security, consider updating your programmed codes periodically. This practice enhances the security of your garage, preventing unauthorized access.
- Securing Remote and Keypad: Keep your remote and keypad clean and in good condition. It’s like maintaining your tools – a well-kept remote ensures a strong, reliable signal to your opener unit.
- Regular Inspection: Periodically inspect the physical components of your garage door opener. Look for any loose wires, worn-out parts, or signs of wear and tear. Early detection can prevent potential issues down the road.
- Lubrication for Smooth Operation: Apply lubricant to the moving parts of your garage door. It’s similar to oiling a bicycle chain – a well-lubricated system ensures smooth and quiet operation, extending the life of your opener.
- Sensor Alignment Check: Ensure that the safety sensors are properly aligned. Think of it as calibrating a camera – proper alignment guarantees that the sensors accurately detect obstacles, enhancing the safety features of your garage door opener.
- Professional Maintenance: Consider scheduling professional maintenance at regular intervals. Experts can identify and address potential issues before they become major problems. Although it can cost you to have the garage door spring or garage door opener fixed, it’s well worth it.
Elevate Your Garage Experience!
You’ve mastered the art of programming your Liftmaster garage door opener, turning it into a seamless extension of your control. But this journey is ongoing. Embrace maintenance tips, change codes regularly, and keep your tools in top shape.
For professional support, consider California Garage Door Repair. Our expertise can add the finishing touch to ensure your garage door operates smoothly. We offer garage door opener repair and garage door opener installation services.
Ready to elevate your garage experience? Call us today!