Is your garage door refusing to cooperate, leaving a frustrating gap when you try to close it? Dealing with a garage door that won’t close all the way can be a real hassle. Not only does it compromise the security of your home, but it also poses safety risks to you and your family. But fear not, as we’re here to help you tackle this common issue head-on.
In this guide, we’ll walk you through the steps to troubleshoot and fix a stubborn garage door that just won’t budge all the way down.
From checking for sneaky obstructions to ensuring your safety sensors are in top-notch condition, we’ve got you covered. So, grab your tools and let’s dive into the world of garage door repairs. Together, we’ll have your garage door shutting smoothly in no time. Let’s get started!
Check for Obstructions
My garage door wont close, now what? When your garage door wont close all the way down, the first step in troubleshooting is to check for obstructions. These can be anything from small rocks to large objects that have inadvertently found their way into the path of the garage door.
Clearing these obstructions is essential for ensuring smooth door operation and preventing potential damage. Here’s how to do it:
- Visual Inspection: Take a close look at the area around the garage door, both inside and outside. Look for any objects that may be blocking the door’s path, such as debris, tools, toys, or even vegetation.
- Clear Debris: Remove any debris, such as leaves, branches, or dirt, that may have accumulated along the tracks or near the bottom of the door. Use a broom or leaf blower to clear away larger debris and ensuliftmasre a clean pathway for the door.
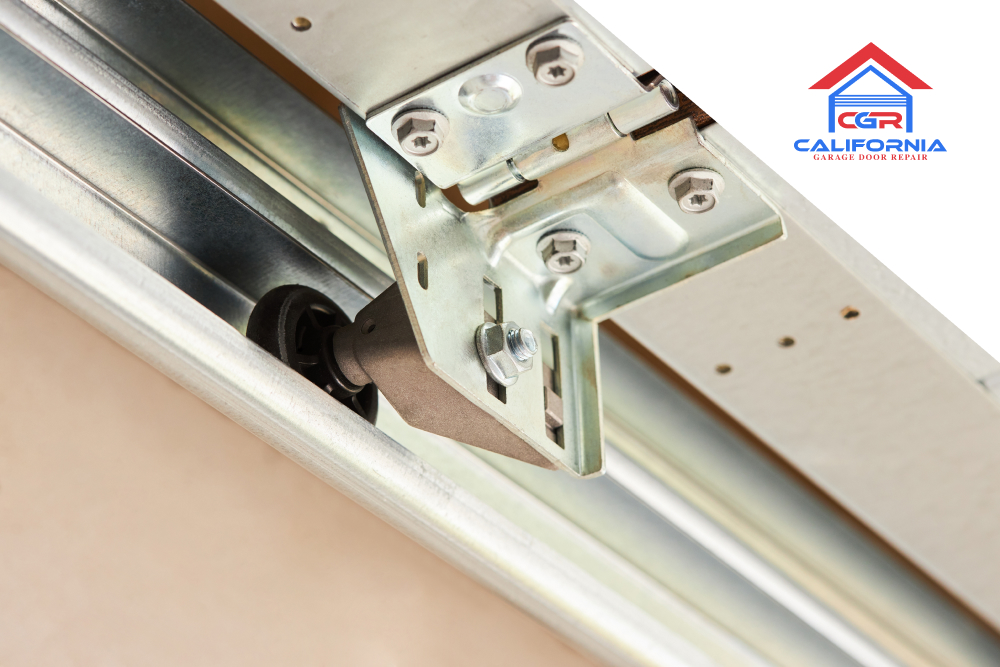
- Check Track Alignment: Inspect the tracks along which the garage door rollers move. Ensure that the tracks are properly aligned and free from any obstructions that may cause the rollers to derail or the door to get stuck.
- Inspect Sensor Area: If your garage door is equipped with safety sensors, check to see if anything is obstructing their view. These sensors are typically located near the bottom of the door tracks and prevent the door from closing if they detect an object in the way.
Test Safety Sensors
Your garage door is equipped with safety sensors that are designed to prevent accidents and injuries by stopping the door from closing if they detect an obstruction in the way. However, if these sensors are misaligned or malfunctioning, they can prevent the door from closing all the way.
Testing the safety sensors is an important step in troubleshooting a garage door that won’t close properly. Here’s how to do it:
- Visual Inspection: Start by visually inspecting the safety sensors located near the bottom of the garage door tracks. Ensure that they are clean and free from any debris or obstructions that may be blocking their view.
- Check Alignment: Use a level to check the alignment of the sensors. They should be facing each other directly and be perfectly aligned. If they are misaligned, gently adjust them until they are pointing directly at each other.
- Test Sensor Functionality: Place an object, such as a cardboard box or broomstick, between the sensors to simulate an obstruction. Then, try closing the garage door using the wall-mounted control panel or remote. The door should stop and reverse its movement if the sensors are working correctly.
- Clean Sensors: If the door does not stop or reverse its movement when an object is placed between the sensors, clean the sensor lenses with a soft, dry cloth. Dirt or debris on the lenses can interfere with their functionality.
- Inspect Wiring: Check the wiring connections for the safety sensors to ensure they are secure and free from damage. Loose or damaged wiring can cause the sensors to malfunction.
Adjust Close Limit Switch
The close limit switch plays a crucial role in determining how far your garage door closes. If this switch is incorrectly set, your door may not close all the way. Adjusting the close limit switch can help rectify this issue. Here’s how to do it:
- Locate the Switch: The close limit switch is typically located on the garage door opener unit near the motor. It may be labeled as “close limit” or “down limit.”
- Turn Off Power: Before making any adjustments, ensure the power to the garage door opener is turned off to prevent accidents.
- Adjust Settings: Use a screwdriver to adjust the close limit switch settings. Turn the screw clockwise to decrease the closing distance and counterclockwise to increase it. Make small adjustments at a time and test the door’s movement after each adjustment.
- Test Door Operation: Once you’ve made the necessary adjustments, test the garage door to see if it closes all the way. If it still doesn’t, continue making small adjustments until the desired closing position is achieved. If nothing seems to work, you can opt for a garage door opener repair service from professionals to ensure the job gets swiftly done to avoid anymore inconvenience.
Lubricate Moving Parts
Just like a well-oiled machine, your garage door operates best when its moving parts are properly lubricated. Over time, friction and wear can cause these components to become stiff or noisy, hindering the smooth operation of your door. Here’s how lubricating moving parts can help:
- Identify Moving Components: Take a moment to identify the key moving parts of your garage door, such as rollers, tracks, hinges, and springs. These components are prone to friction and benefit greatly from lubrication.
- Choose the Right Lubricant: Select a high-quality garage door lubricant specifically designed for use on metal parts. Avoid using grease or oil-based lubricants, as they can attract dirt and debris, leading to further problems down the line.
- Apply Lubricant: Using a spray or applicator, apply a small amount of lubricant to each moving part. Focus on the areas where metal meets metal, such as roller tracks and hinges. Be sure to coat the entire surface evenly.
- Wipe Excess: After applying lubricant, use a clean cloth to wipe away any excess. This helps prevent drips and ensures that the lubricant is distributed evenly across the moving parts.
- Regular Maintenance: Make lubricating moving parts a part of your regular garage door maintenance routine. Aim to lubricate these components every six months or as needed to keep your door operating smoothly.
Call a Professional
While many garage door issues can be resolved with DIY troubleshooting and maintenance, some problems may require the expertise of a professional technician. Knowing when to call in the experts can save you time, frustration, and potentially prevent accidents. Here’s why seeking professional help may be necessary:
- Complex Repairs: If you’ve attempted DIY fixes but still can’t resolve the issue, it may indicate a more complex problem that requires specialized knowledge and tools to fix. Professional technicians have the training and experience to diagnose and repair a wide range of garage door issues efficiently. This not only includes diagnosing problems but also doing a new garage door installation.
- Safety Concerns: Garage doors are heavy and operate under high tension, posing potential safety hazards if not handled properly. Adjusting or repairing certain components, such as tension springs or cables, can be dangerous without the necessary expertise and safety precautions. Calling a professional ensures the job is done safely and correctly.
- Warranty Coverage: If your garage door is still under warranty, attempting DIY repairs or hiring an unqualified technician may void the warranty. Professional technicians are certified to work on specific garage door brands and models, ensuring that roll up door repairs are conducted according to manufacturer specifications.
- Prevent Further Damage: Ignoring or improperly addressing garage door issues can lead to further damage and costly repairs down the line. A professional technician can identify underlying problems and address them before they escalate, saving you time and money in the long run.
- Peace of Mind: By hiring a professional, you can have peace of mind knowing that your garage door is in capable hands. Professional technicians have the expertise and tools to get the job done efficiently and effectively, restoring your door to optimal functionality.
Take Charge of Your Garage Door's Performance
Maintaining your garage door’s functionality is crucial for your home’s security and convenience. Follow the steps outlined here to troubleshoot common issues. If problems persist or safety concerns arise, reach out to California Garage Door Repair for professional assistance.
Don’t delay—take charge of your garage door’s performance today and enjoy peace of mind knowing it’s operating smoothly.
